A Guide to Deploying Your First Lambda Rest API In Node (part 3)
Building an App To Use Our API/Function


Introduction
In the last two tutorials, we built a Lambda function and an API Gateway to interact with it. In this tutorial, we will build an app that can use this API. It will use React.js as our base framework, Tailwind.css as our styling (to make things simple), and Axios as a library for making HTTP requests.
You can see the app in action here as well as the GitHub repo here.
Initializing The App
We will use 'create-react-app' for simplicity to set up our boilerplate React code as well as move into the root directory:
npx create-react-app lambda-demo-app && cd lambda-demo-app
Injecting The Dependencies
Next, we will install our dependencies which are Axios and Tailwind.css. Then run the 'init' command to generate a 'tailwind.config.js' file:
npm i -D axios tailwindcss # Installs Axios and Tailwind.css

npx tailwindcss init # Creates tailwind.config.js file
Setting Up Tailwind
To fully set up Tailwind.css we first need to make sure the 'tailwind.config.js' file knows which files to add styling to:
/** @type {import('tailwindcss').Config} */
module.exports = {
  content: [
    // Adds paths to all of your template files:
    "./src/**/*.{js,jsx,ts,tsx}"
  ],
  // ...
  // ...
}
Second, we need to include our Tailwind directives in the 'index.css' file located in the 'src' directory:
@tailwind base;
@tailwind components;
@tailwind utilities;
Cleaning Up Our Files
Now we will clean up some boilerplate code we won't need:
cd src
rm App.css logo.svg
Starting Our App
The main portion of our app rests within our 'App.js' file located in the 'src' directory. We will delete the existing code and start from scratch.
First, we will declare our imports which are 'useState' and 'axios', our URL variable which will be taken from the last tutorial and our App component:
import { useState } from 'react'; // For declaring state in React

import axios from 'axios'; // For fetching data from our API

const url = ***URL_FROM_LAST_TUTORIAL*** // Replace with the Rest API URL from the last tutorial

const App = () => {}; // This will be our App component where the body of our code will be

export default App;
Declaring State
Next, let's add some stores to our app: one to store the input from the user and another for the output from the API:
// ...

const App = () => {
  const [ name, setName ] = useState(''); // This will store the input from the user
  const [ greetings, setGreetings ] = useState([]); // This will store the output from the API

  return ();
};

export default App;
Adding JSX and Tailwind
Next, let's add the markup as well as the Tailwind classes:
// ...
const App = () => {
// ...
return (
<div className="bg-slate-200 grid h-screen place-items-center overflow-x-hidden">
<div className='bg-slate-400 px-16 py-10 mx-16 my-10 rounded-lg shadow-lg'>
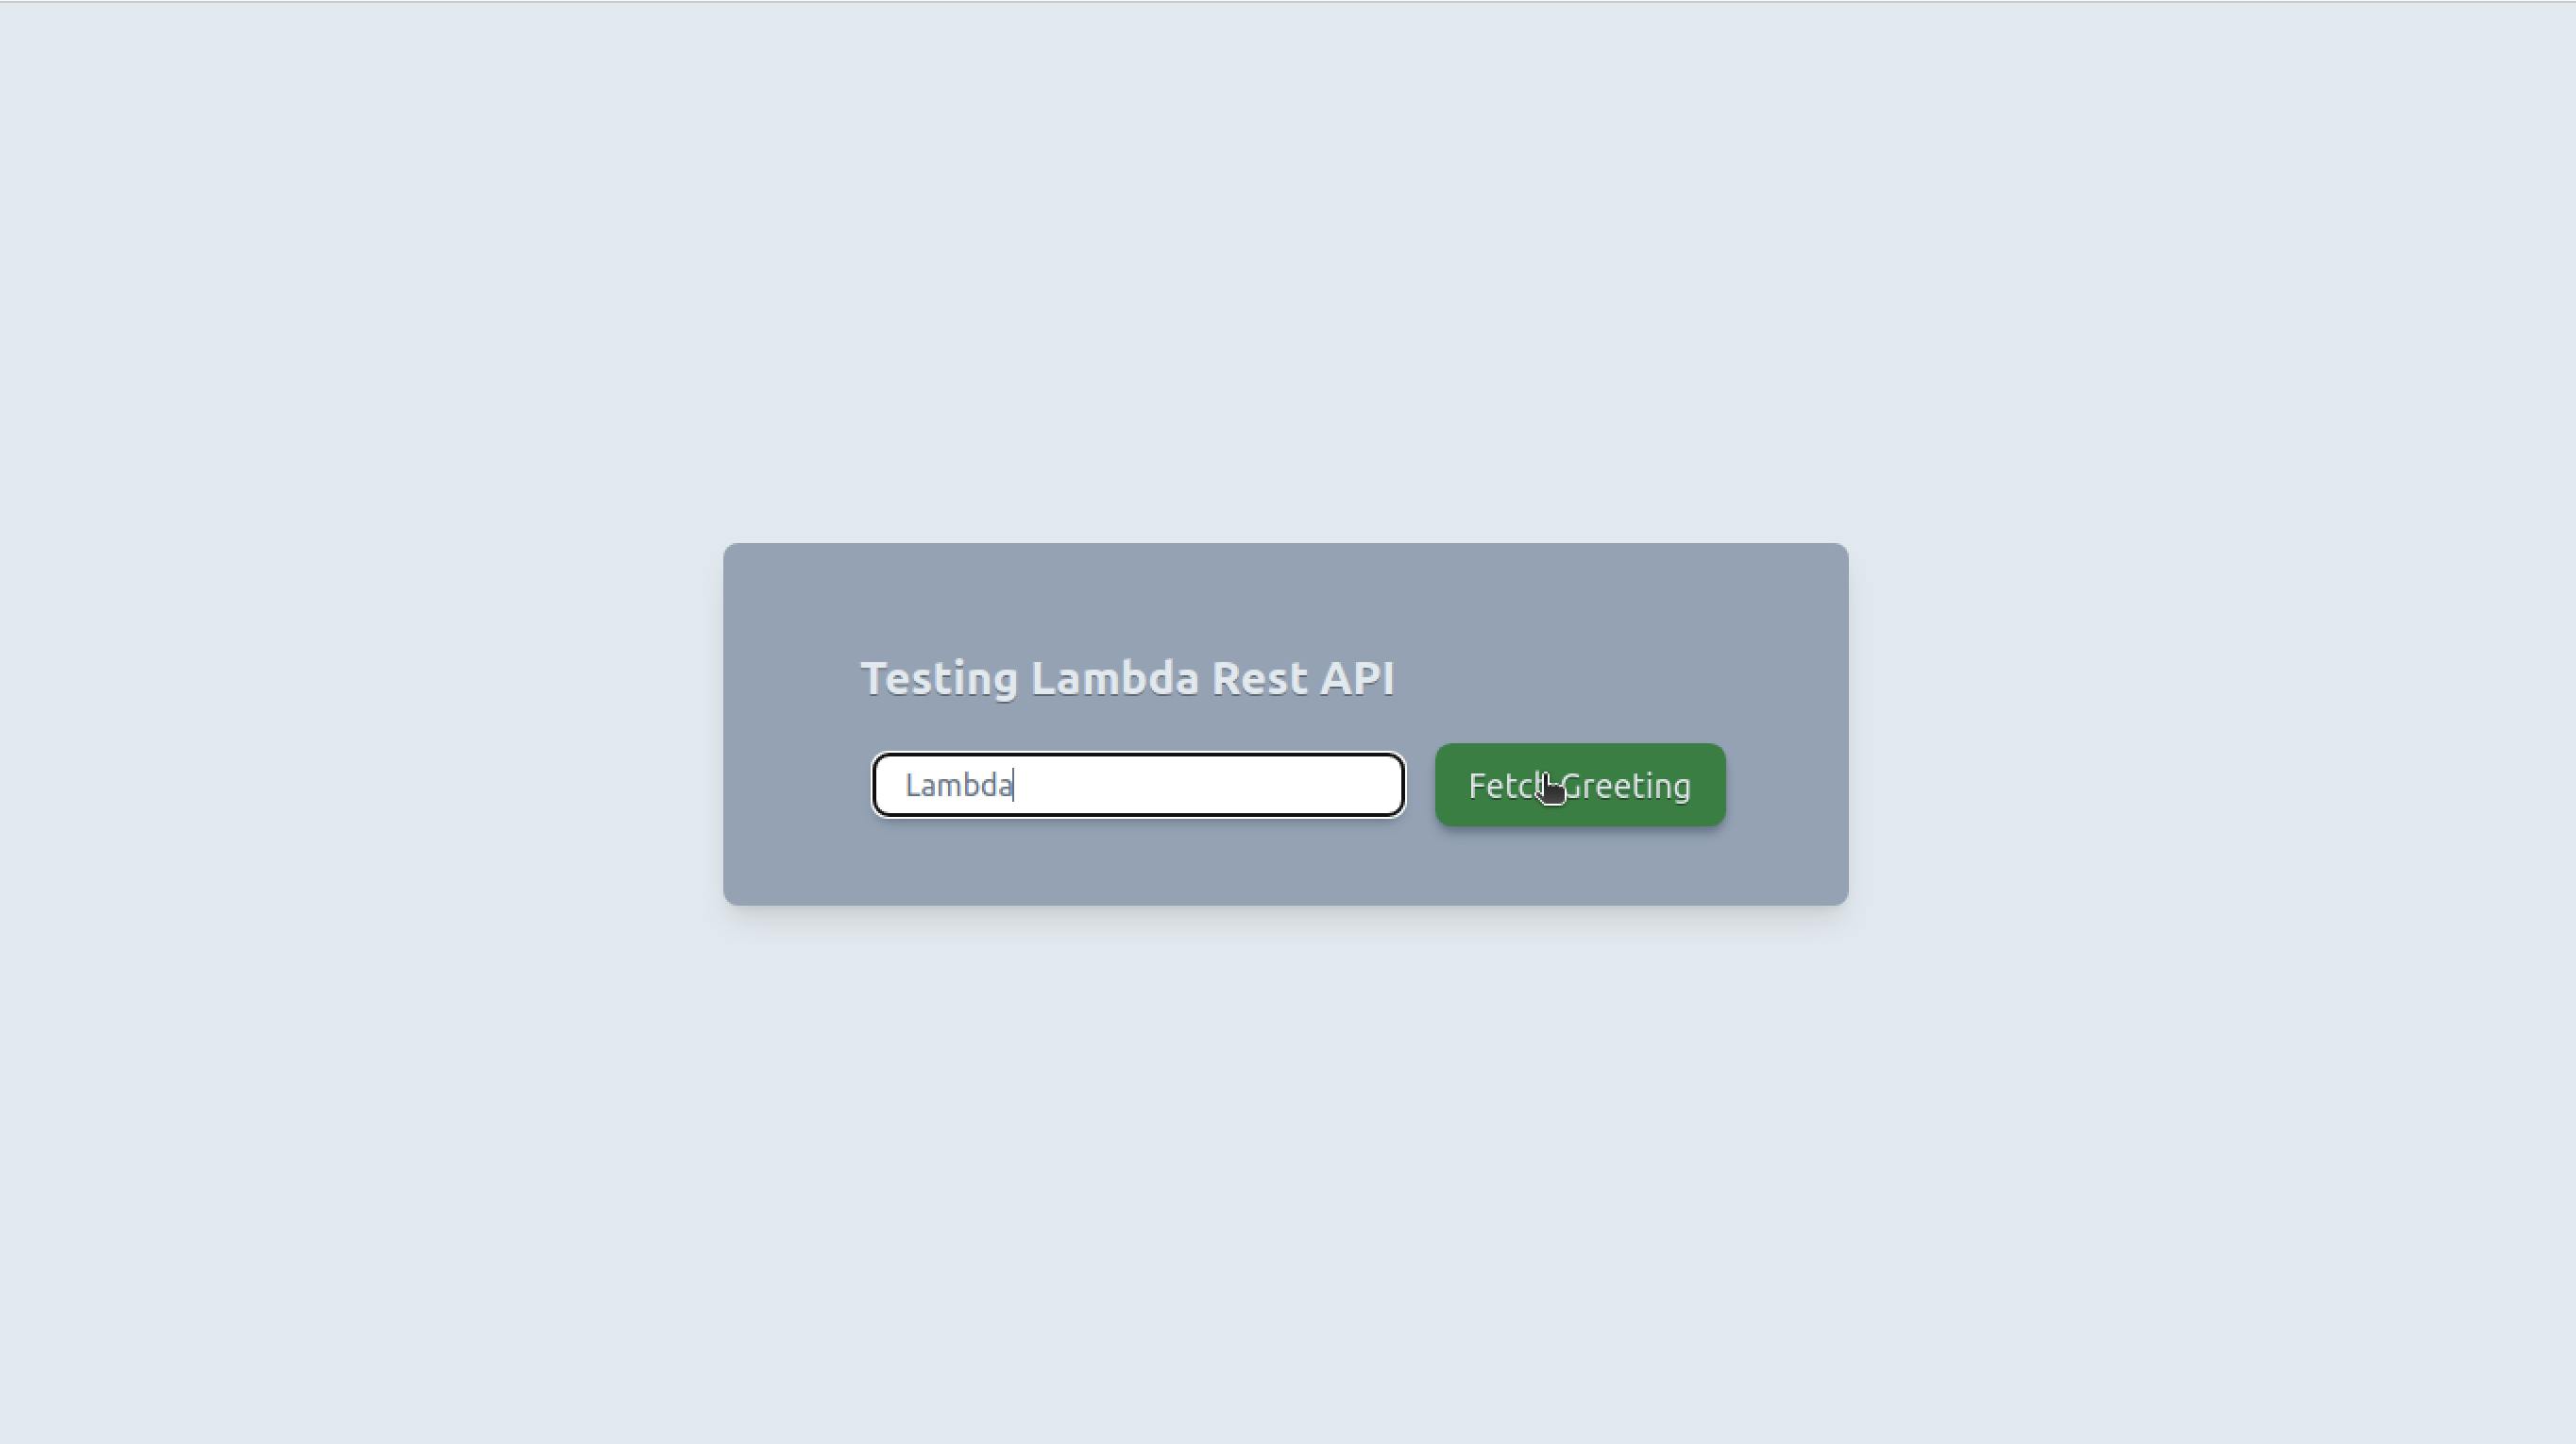
<h1 className='text-slate-200 [text-shadow:_0_1px_0_rgb(0_0_0_/_40%)] text-2xl font-bold px-2 py-4'>Testing Lambda Rest API</h1>
<input
className='rounded-lg px-4 py-1 mx-4 my-2 text-slate-500 shadow-md shadow-slate-500'
value={name}
placeholder='Enter name here'
onChange={e => setName(e.currentTarget.value)}
/>
<button
className='bg-green-600 hover:bg-green-700 px-4 py-2 mx-2 py-1 text-gray-200 [text-shadow:_0_1px_0_rgb(0_0_0_/_40%)] transition ease-in-out delay-100 duration-150 hover:scale-110 rounded-lg shadow-md shadow-slate-500'
onClick={fetchGreeting}
>Fetch Greeting</button>
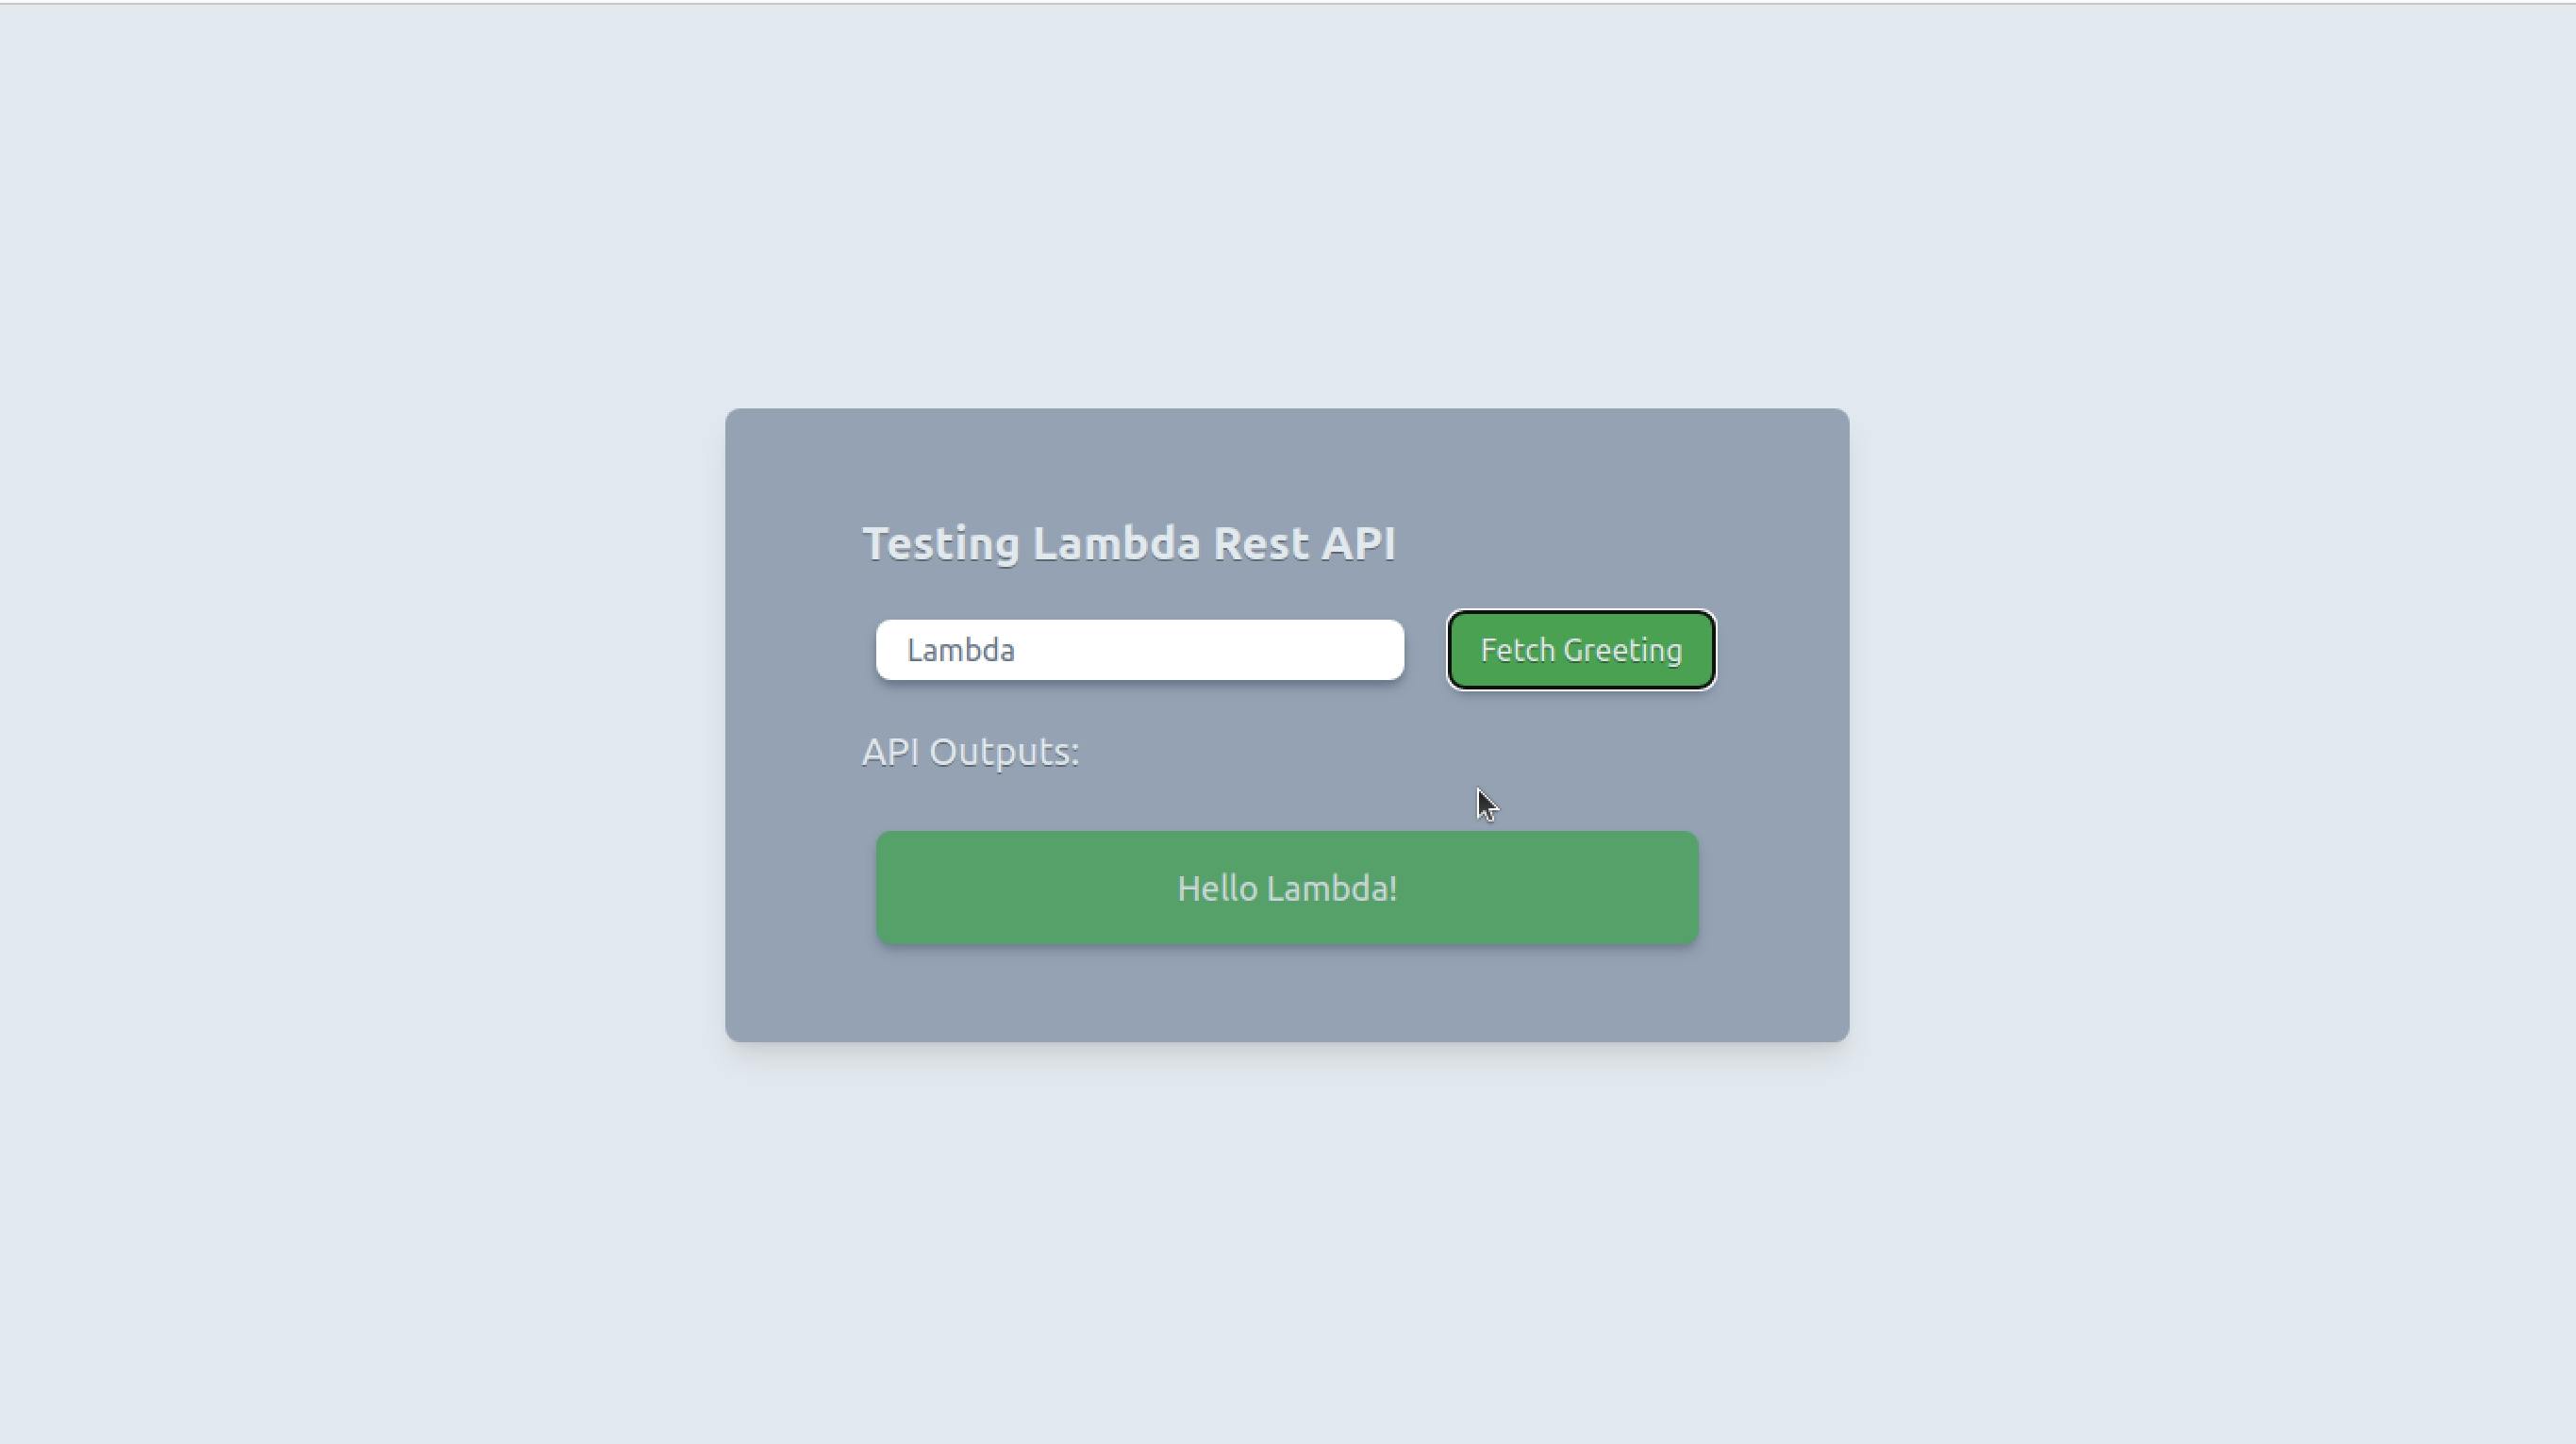
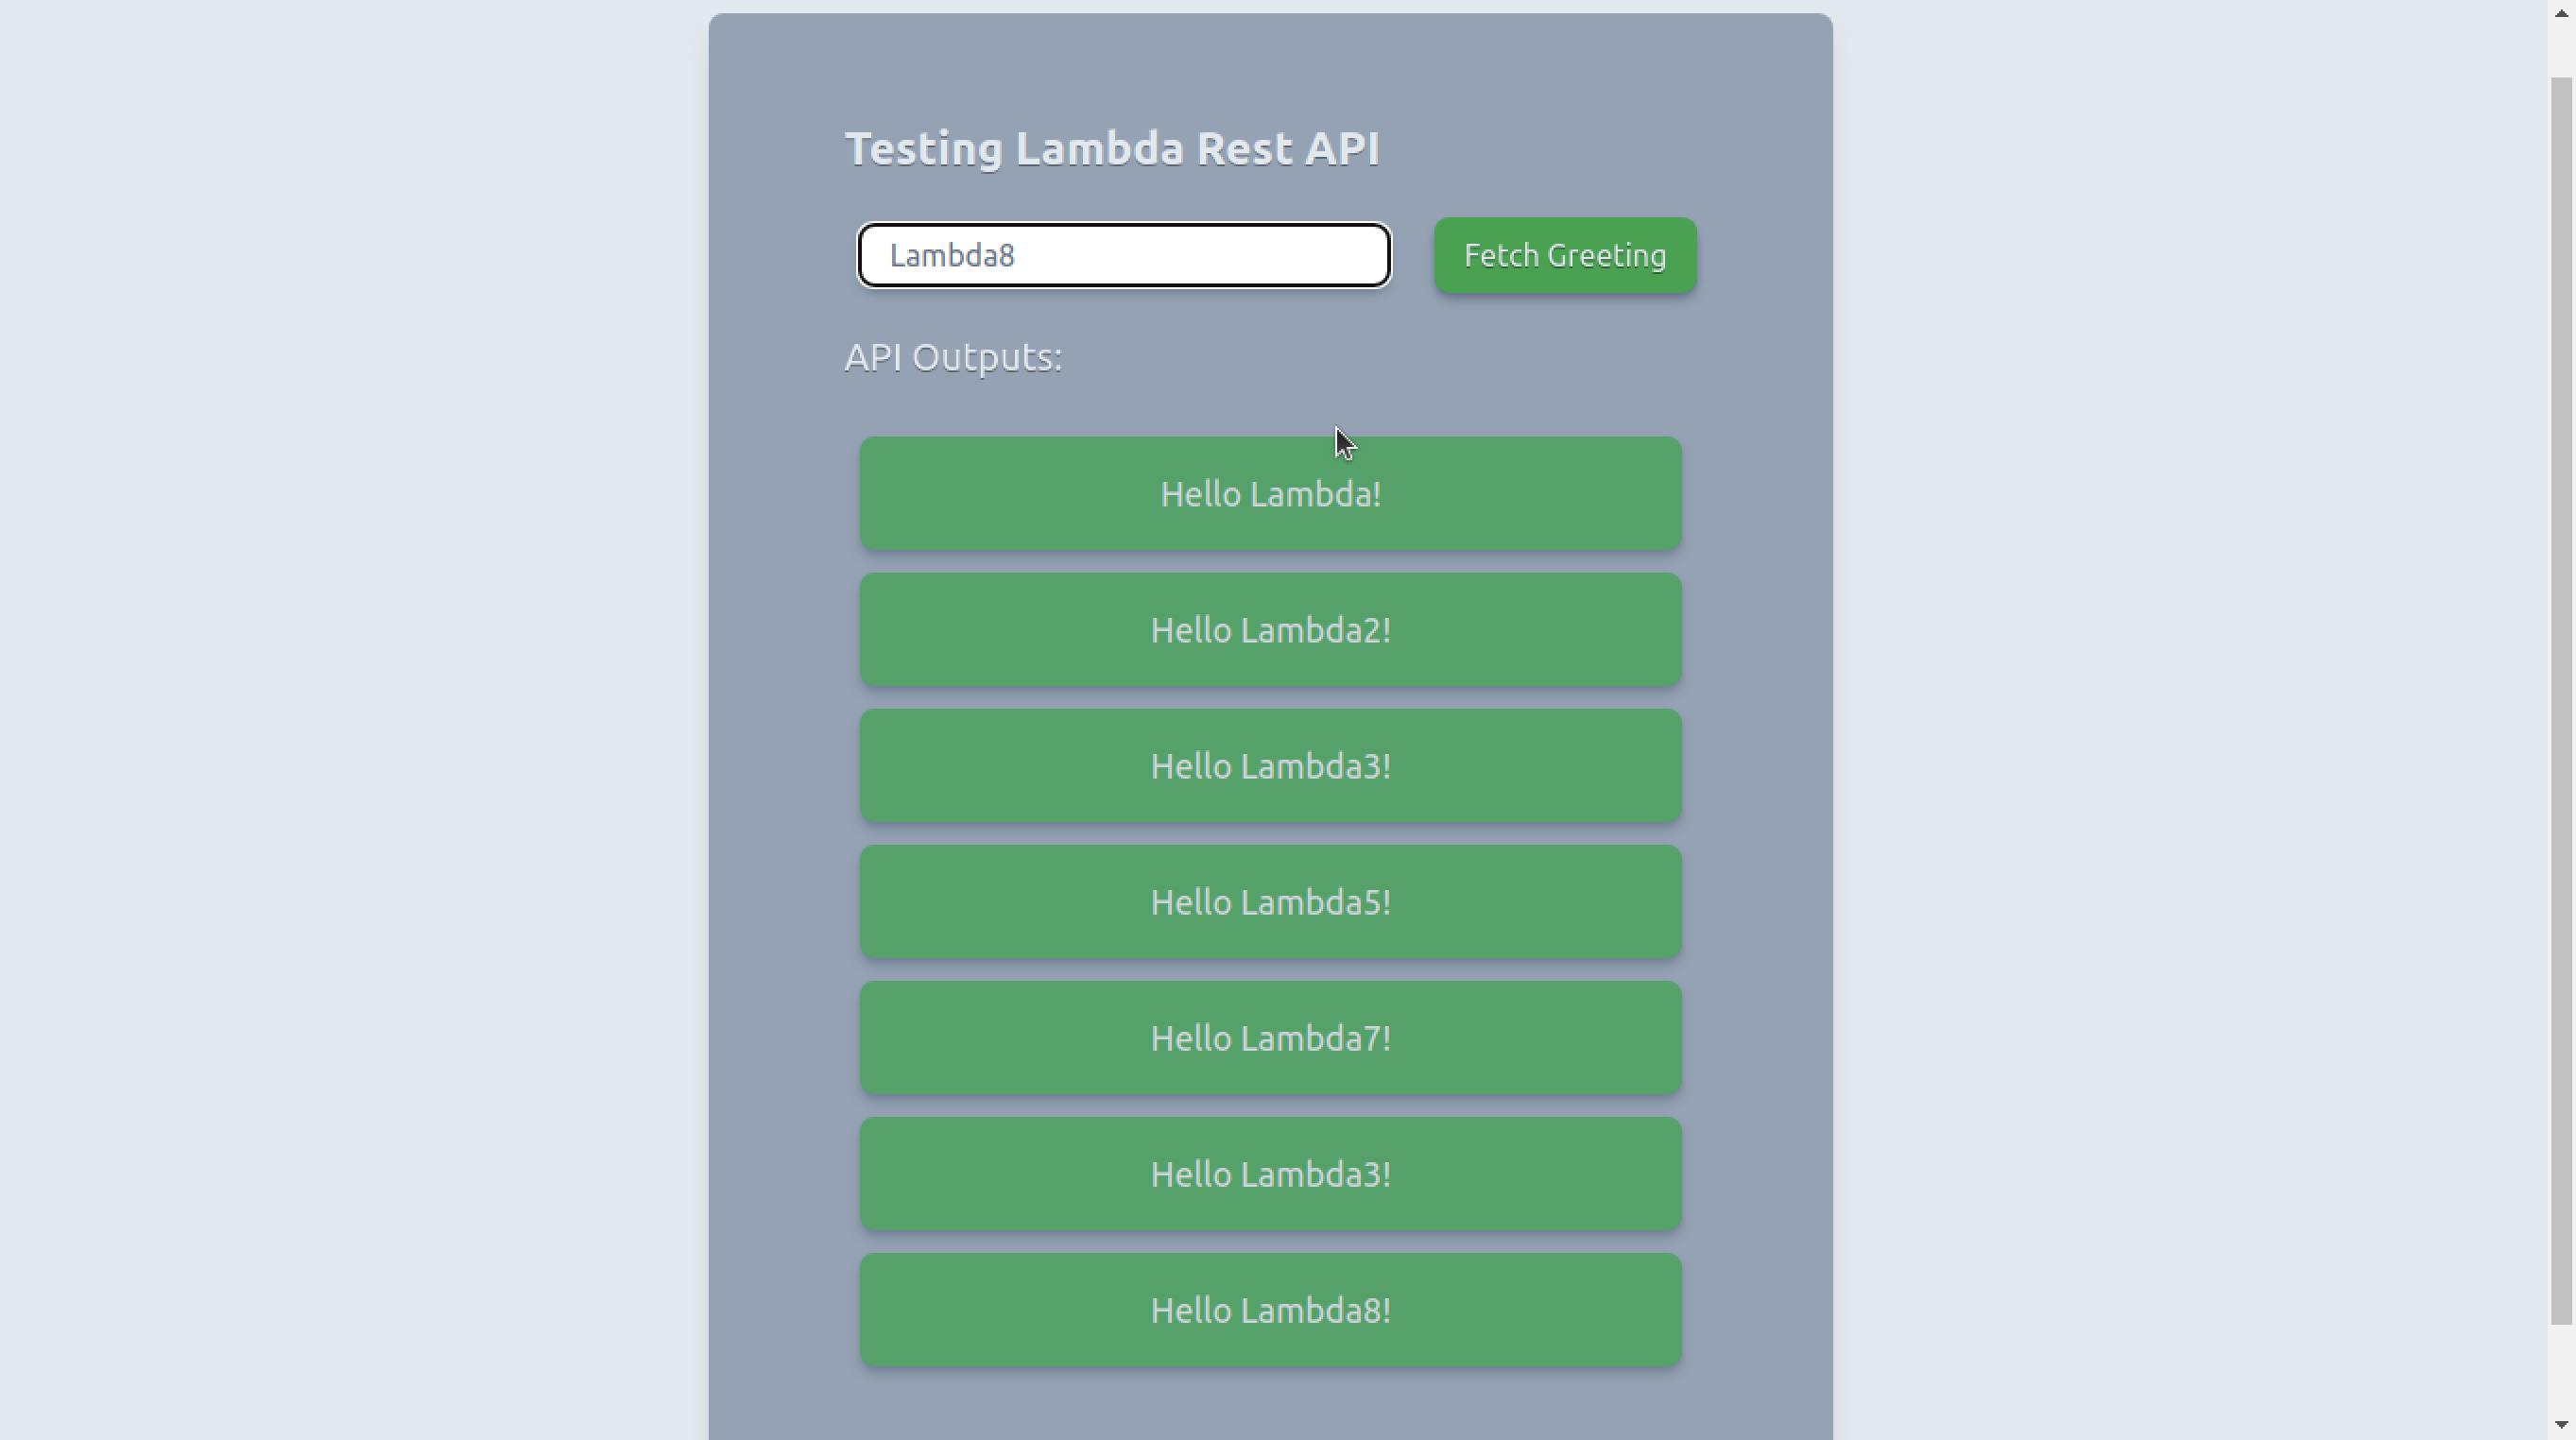
{greetings[0] && <h2 className='text-slate-200 [text-shadow:_0_1px_0_rgb(0_0_0_/_40%)] text-xl px-2 py-4'>API Outputs:</h2>}
<div>
{greetings.map(msg => (
<div className='bg-green-600 opacity-75 rounded-lg px-6 py-4 mx-4 my-3 shadow-md shadow-slate-500'>
<h3 className='text-gray-200 text-lg text-center'>{msg}</h3>
</div>
))}
</div>
</div>
</div>
);
};
export default App;
Fetching The Data
To finish up, let's add a function to call and fetch data from the rest API and update the Virtual DOM:
// ...

const App = () => {
  // ...

  // Call and fetch data from the rest api:
  const fetchGreeting = () => {
    axios.post(url, { name })
      .then(res => {
        const { data } = res; // Data from api
        setGreetings([ ...greetings, data.msg ]); // Add message to the list
      })
      .catch(err => { // Log out the error:
        console.log(err);
      });
  };

  return ( /* ... */ );
};

export default App;
Running Our App
Finally, let's start our app from the root directory of our app:
cd ..
npm run start
Now if we open page 'localhost:3000' in our browser our app should run successfully.